Best camera setup for catch photos on the water
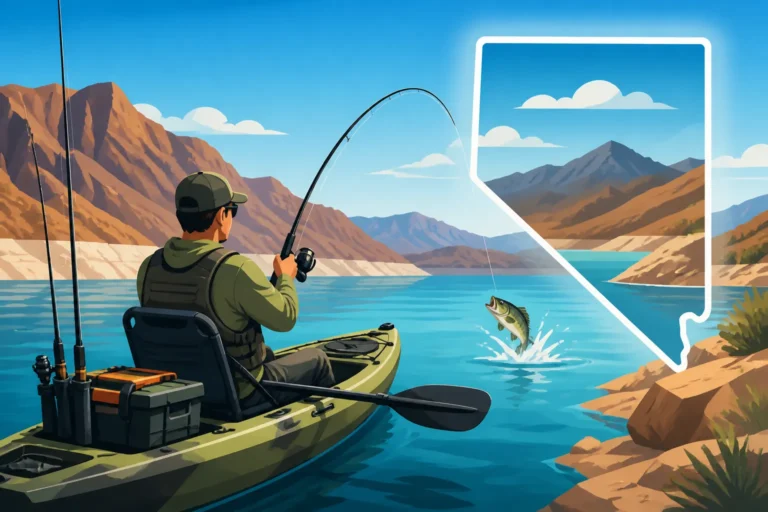
We’ve all been there: you’ve just landed a truly magnificent fish in the stunning Nevada landscape, your heart is pounding, and you want to capture that moment forever. But then you try to snap a photo, and it’s blurry, poorly lit, or your thumb is in the way. It’s frustrating to have such an incredible memory diminished by a lackluster photograph. This guide is here to help you understand the best camera setups and techniques to capture those unforgettable catch photos on the water, ensuring your fishing tales are backed by stunning visuals.
Why Quality Catch Photos are So Important
Think about it – a picture truly is worth a thousand words, especially when you’re recounting that epic battle with a Lahontan cutthroat or the massive striper that almost pulled you overboard at Lake Mead. Beyond just bragging rights, a great catch photo serves several purposes. It’s a tangible memory, a way to share your passion with friends and family, and even a tool for conservation.
Documenting Your Angling Adventures
Every fishing trip is an adventure, and each catch is a trophy, regardless of its size. A clear, well-composed photograph allows you to relive those moments. You can remember the excitement, the fight, and the beauty of the fish itself. Over time, these photos become a personal journal of your angling journey, showcasing your progress, the places you’ve explored, and the sheer joy of the sport. Imagine flipping through an album years from now, instantly transported back to that specific moment on the water. It’s not just about the fish; it’s about the entire experience.
Sharing and Inspiring Others
Social media, forums, and even casual conversations are all enriched by good photos. When you share a crisp, vibrant image of your catch, it’s not just about showing off; it's about connecting with other anglers, inspiring newcomers, or simply delighting those who appreciate the natural beauty of fish. Maybe your photo will encourage someone else to visit Best Places to Fish in Nevada or try a new technique. It’s a way to be part of a larger community, sharing successes and learning from others. For those who can't join you on the water, these images bring the experience directly to them.
Promoting Ethical Angling and Conservation
Many anglers, especially those practicing catch and release, use photos to document their success without keeping the fish. A good photo, taken quickly and with proper fish handling, showcases respect for the resource. It can highlight the health of a fishery or the beauty of a species like the Lahontan Cutthroat Trout, which needs careful handling as detailed in Handling and Releasing Lahontan Cutthroat Trout. By sharing ethical photos, you subtly educate others on the importance of conservation, responsible handling, and the long-term sustainability of our aquatic environments. It’s a visual commitment to the future of fishing.
Choosing the Right Camera for On-Water Photography
The "best" camera setup isn't one-size-fits-all. It really depends on your budget, how serious you are about photography, and what kind of fishing you typically do. Are you a solo angler on a kayak, or do you have a buddy on a big bass boat? These factors will influence your ideal choice.
Smartphones: Convenience in Your Pocket
Let’s be honest, for most of us, our smartphone is the camera we always have with us. Modern smartphones have incredibly capable cameras, often rivaling older dedicated cameras in image quality. They are fantastic for quick snaps, and the convenience is unbeatable.
However, there are downsides. Water is the enemy of electronics, so a waterproof case is an absolute must. Without one, a quick splash or an accidental drop into the lake can mean a ruined phone and lost photos. Beyond protection, think about how you'll hold it. A wet, slimy fish and a slippery phone can be a recipe for disaster. Consider a lanyard or a phone holder that attaches to a chest strap or even a small tripod. For quick editing and sharing, a phone is king, allowing you to instantly upload your trophy shot. Many anglers find affordable accessories on Amazon that can elevate their phone photography.
Waterproof Point-and-Shoot Cameras: Rugged Simplicity
These cameras are specifically designed for the elements and can take a beating. They're often shockproof, freezeproof, and, most importantly, waterproof, often to significant depths. This means you don't have to worry as much about splashes, rain, or even dropping it in the drink during a moment of excitement.
While they might not offer the same advanced controls or low-light performance as a high-end DSLR, they excel in simplicity and durability. They're perfect for anglers who want better image quality than a phone without the hassle of a delicate, expensive setup. Brands like Olympus Tough or Fujifilm XP series are popular choices. The main drawback is that you have to remember to bring it, and it's another piece of gear to keep charged. For a dedicated waterproof camera that can handle the rigorous demands of fishing, check out options at Bass Pro Shops.
Action Cameras: Dynamic and Hands-Free Footage
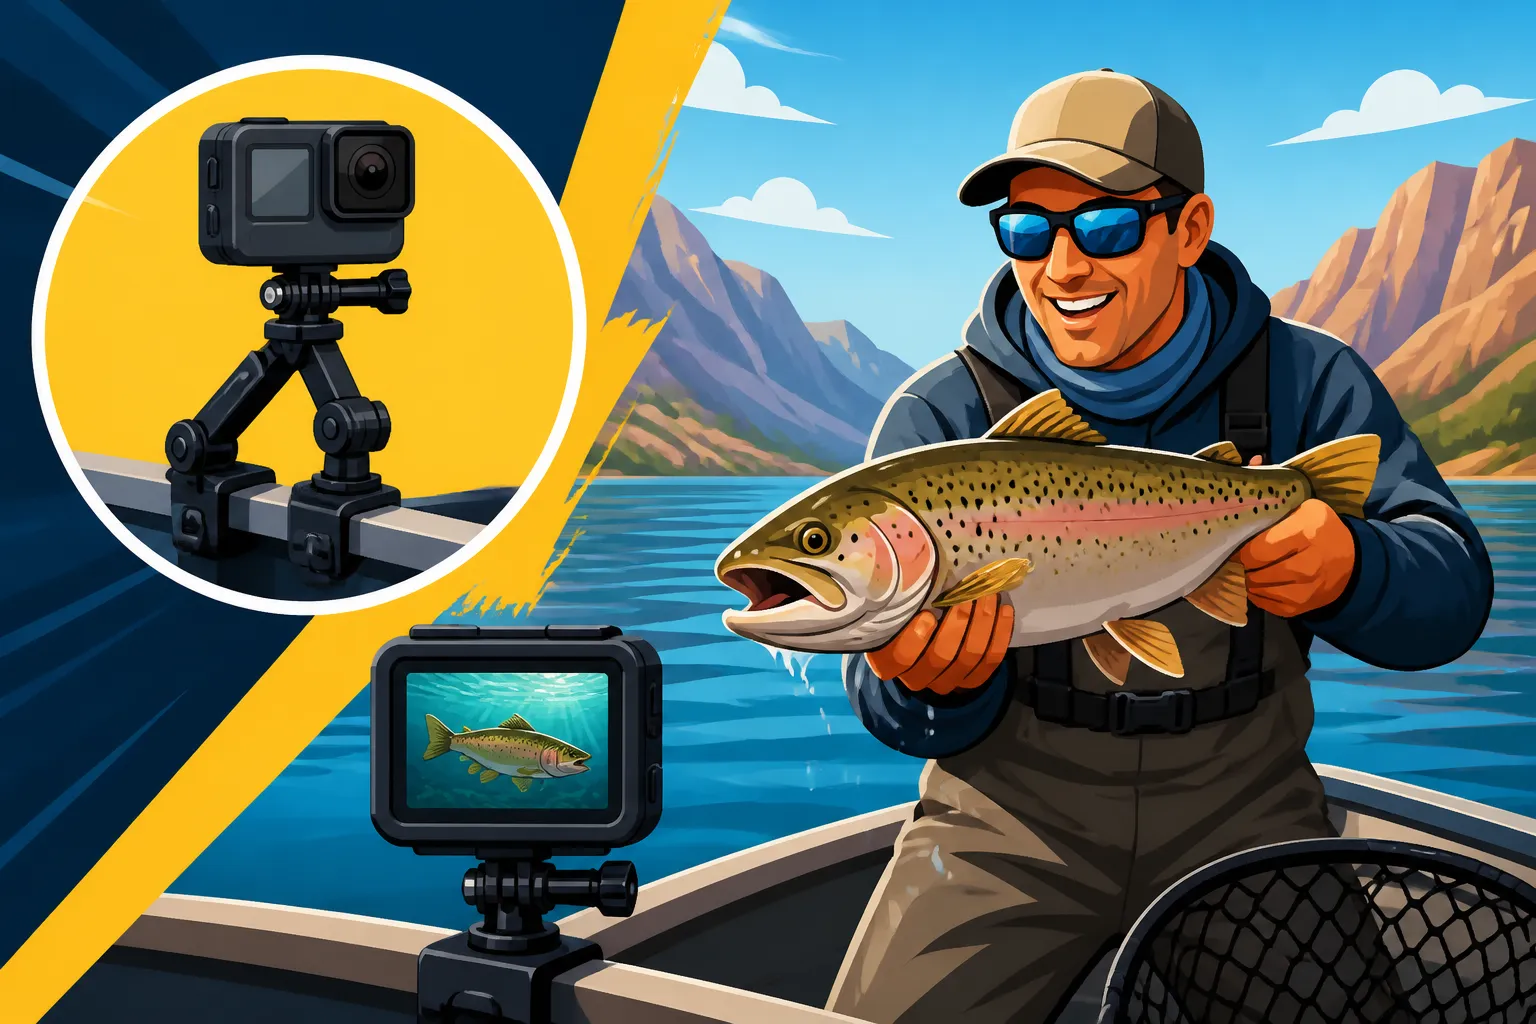
Action cameras, like those from GoPro or DJI, are incredibly popular among anglers, especially those who want to capture video in addition to still photos. Their small size, robust waterproofing (often without an additional case), and wide array of mounting options make them ideal for capturing dynamic angles.
You can mount them to your hat, chest, boat rail, or even a telescopic pole for unique shots. This hands-free operation is a huge advantage when you’re busy fighting a fish or trying to handle it for a quick photo. While their small sensors sometimes struggle in low light and their wide-angle lens can distort images, the convenience and ability to get unique perspectives often outweigh these minor issues. Just remember to pack extra batteries, as they can drain quickly, especially when recording video.
DSLR or Mirrorless Cameras: Professional Quality, Higher Stakes
For the ultimate in image quality, a DSLR or mirrorless camera is unmatched. These cameras offer large sensors, interchangeable lenses, and manual controls that allow for incredible detail, depth of field, and performance in various lighting conditions. If you're serious about photography and want magazine-quality shots of your catches, this is the way to go.
However, they are also the most expensive, delicate, and least waterproof option. You'll need specialized waterproof housing (which can be very pricey) or be extremely careful. These setups are generally best for dedicated photography trips where fishing is secondary, or for larger boats where you have a secure, dry place to store and operate the camera. They are not ideal for quick, spontaneous shots during intense fishing action, especially if you're alone.
Here's a quick comparison of these camera types:
| Feature | Smartphone | Waterproof Point-and-Shoot | Action Camera | DSLR/Mirrorless |
|---|---|---|---|---|
| Ease of Use | Very High | High | Medium (can be fiddly with settings/mounts) | Low (requires knowledge of settings) |
| Durability | Low (needs case) | High (built-in ruggedness) | High (built-in ruggedness/waterproofing) | Very Low (needs specialized housing) |
| Image Quality | Good to Excellent (modern phones) | Good | Medium (wide angle, small sensor) | Excellent (large sensor, interchangeable lens) |
| Video Capability | Excellent | Good | Excellent (high frame rates, 4K) | Excellent (cinema quality options) |
| Water Protection | Needs external waterproof case | Built-in waterproof | Built-in waterproof (often case-free) | Needs expensive external waterproof housing |
| Hands-Free Ops | Limited (needs mount/tripod) | Limited | Excellent (wide range of mounts) | Very Limited (large, cumbersome) |
| Cost | Moderate (if you already own one) | Low to Moderate | Moderate to High | High to Very High |
| Best For | Casual shots, quick sharing | Worry-free photos, good quality | Dynamic angles, video, hands-free operation | Professional-grade photos, fine control |
Essential Gear to Enhance Your Catch Photos
Having the right camera is just the beginning. A few key pieces of accessory gear can dramatically improve the quality and safety of your on-water photos.
Mounts, Grips, and Poles
Imagine trying to hold a squirming fish while simultaneously trying to get a good angle with your camera. It's nearly impossible, especially if you're fishing solo. This is where mounts, grips, and poles become indispensable.
- Chest Mounts: These are fantastic for action cameras, placing the camera right on your chest, offering a "first-person" perspective of the fish fight and the catch. It keeps your hands free and captures a natural view.
- Head Mounts: Similar to chest mounts, but the perspective is even higher, which can be great for seeing your lure presentation or the fish approaching. They can feel a bit awkward at first, but the results are worth it.
- Boat Rail Mounts: If you’re on a boat, a sturdy rail mount can hold your action camera or even a small point-and-shoot camera securely, allowing for stable shots of the action or a self-timer photo with your catch. Look for universal mounts that can clamp onto different rail sizes.
- Telescopic Poles/Selfie Sticks: These are incredibly useful for getting unique angles, especially when you're by yourself. You can extend the camera out over the water, get a higher perspective, or even use it for underwater shots (if your camera is waterproof). Look for poles that float if accidentally dropped. You might find great deals on mounts or waterproof cases on sites like Amazon.
Floats and Lanyards: Preventing the Plunge
The last thing you want is for your expensive camera gear to end up at the bottom of Lake Tahoe. A simple float attached to your camera (especially action cameras or waterproof point-and-shoots) can be a lifesaver. These bright orange or yellow floats ensure your camera bobs to the surface if it goes overboard, making it easy to retrieve.
Equally important are lanyards. A good wrist or neck lanyard provides an extra layer of security. Even if you momentarily lose your grip on the camera, the lanyard keeps it tethered to you, preventing an accidental dunk. This small investment can save you a lot of heartache and money.
Waterproof Cases and Dry Bags: The Ultimate Protection
For any electronic device that isn't inherently waterproof, a dedicated waterproof case is non-negotiable. For smartphones, there are many robust cases that can withstand submersion. For larger cameras, hard cases like those from Pelican provide impact and water protection.
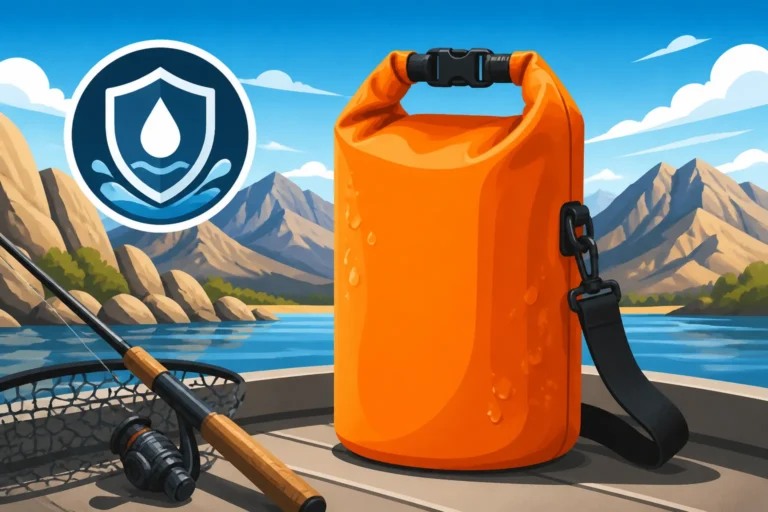
Even with waterproof cameras, a dry bag is an excellent idea for storing spare batteries, memory cards, and other non-waterproof accessories. These roll-top bags ensure everything stays bone dry, even in heavy rain or if your boat takes on water. It's part of the Essential Safety Gear for Boating on Lake Mead you should always consider.
Lens Cleaning Kits: Clarity is Key
Between splashes, dust from the desert winds, and stray fingerprints, your camera lens can quickly get dirty. A small, portable lens cleaning kit is crucial for maintaining clear shots. This typically includes a microfiber cloth and a lens cleaning solution. Avoid wiping lenses with your shirt or anything abrasive, as this can scratch the delicate surface. A quick clean before and after a photo session can make a huge difference in image sharpness and clarity.
Mastering the Art of Catch Photography on the Water
Once you have your camera setup, it's time to learn how to use it effectively. Taking great catch photos isn't just about pointing and shooting; it involves understanding composition, lighting, and crucially, responsible fish handling.
Responsible Fish Handling for the Photo
This is paramount. The health of the fish always comes first. Before you even think about the camera, consider the fish.
- Wet Your Hands: Always wet your hands thoroughly before touching a fish. Dry hands can remove the fish's protective slime coat, making it vulnerable to disease.
- Minimize Time Out of Water: The fish needs oxygen. Get your photo quickly – a few seconds is usually enough. If you’re struggling with the camera, put the fish back in the water to recover, then try again. This is especially critical for sensitive species like trout, as highlighted in How to release a trout without hurting it.
- Support the Fish Properly: For larger fish, support their belly with one hand while holding the base of the tail or near the head with the other. Avoid holding fish by the jaw at an unnatural angle, especially larger bass, as this can damage their jaw. Never hold a fish vertically by its gill plates.
- Keep it Over Water: If possible, take the photo while kneeling or sitting, holding the fish just above the water surface. If the fish slips, it simply falls back into its element, rather than onto a hard boat deck or rocky shore. This practice aligns with principles like Catch and Release Techniques for Trout.
Composition and Framing: Making Your Fish the Star
A great photo isn't just about a fish; it's about telling a story.
- Clean Background: Look for a clean, uncluttered background. A beautiful Nevada lake, distant mountains, or even just the sky can be perfect. Avoid distracting elements like messy gear, a cluttered boat, or other people if they don't add to the story.
- Rule of Thirds: Imagine a grid overlaying your photo (many cameras and phones have this option). Place the fish or the angler's face at one of the intersecting points, rather than directly in the center. This creates a more dynamic and pleasing composition.
- Angle: Don't always shoot from above. Experiment with different angles. Getting down low, closer to the fish's level, can make it appear larger and more majestic.
- Include the Angler: Often, the best catch photos include the angler, showing the excitement on their face and providing a sense of scale for the fish. Make sure the angler is smiling and looking at the camera or proudly at their catch.
Lighting: Harnessing the Sun
Light is the painter's brush for photography.
- Golden Hour: The hour after sunrise and the hour before sunset, known as "golden hour," provides soft, warm, flattering light that is ideal for photography. This avoids harsh shadows and blown-out highlights.
- Avoid Midday Sun: The midday sun is usually the worst for photos. It creates harsh shadows, especially under hats, and can make subjects squint. If you must shoot at midday, try to find some open shade or position the sun behind you (but be careful of shadows).
- Backlighting: While generally tricky, backlighting (sun behind the subject) can create a beautiful halo effect, especially if you can get the exposure right. It takes practice but can yield stunning results.
Quick Shots for Solo Anglers
Fishing alone presents a unique challenge for catch photos. Here are some tips:
- Pre-Set Your Camera: Have your action camera running, or your phone/point-and-shoot on a tripod or mount, with a timer ready to go.
- Use a Timer or Remote: Many cameras offer a self-timer function or can be triggered remotely via a smartphone app. Practice this at home so you're not fumbling on the water.
- Stable Mounts: As mentioned, a chest mount for an action camera or a small, sturdy tripod for your phone or point-and-shoot are invaluable. Place the tripod on a stable surface in your boat or on the bank.
- Minimal Handling: For solo shots, prioritize the fish's safety even more. Get one or two quick shots, then release. It's about documenting, not staging an elaborate photoshoot.
By following these guidelines, you'll be well on your way to capturing stunning, ethical catch photos that will allow you to relive your Nevada fishing memories for years to come. Remember, the best camera setup is the one you have with you, used effectively and responsibly.
Disclaimer
This article is for general informational purposes only and does not constitute professional advice. Laws, prices and regulations vary by location and change over time. Consult a qualified professional for guidance on your specific situation.